Discard decks are one of the strongest decks in MARVEL SNAP in Pool 2 and Pool 3, but here’s a version you can play with Pool 1 cards only that is not only great and reliable to play, it’s also fun plus it counters many of the current Pool 1 meta decks that rely on Kazar (like Kazar Zoo or Strong Guy Jebait) very well.
IMPORTANT! Check out the current meta decks for this season in MARVEL SNAP here.
Deck Overview
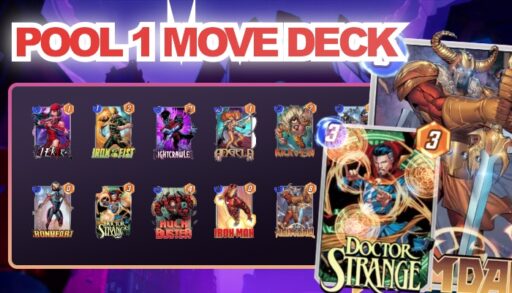
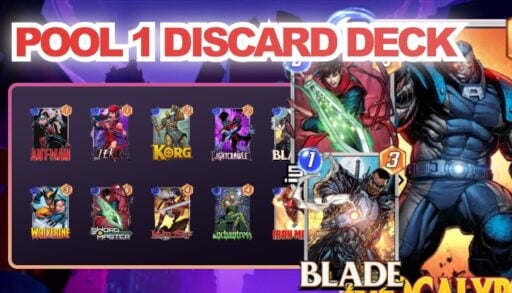
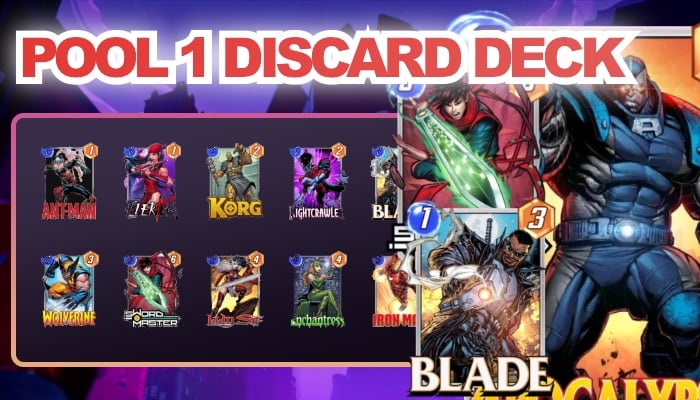
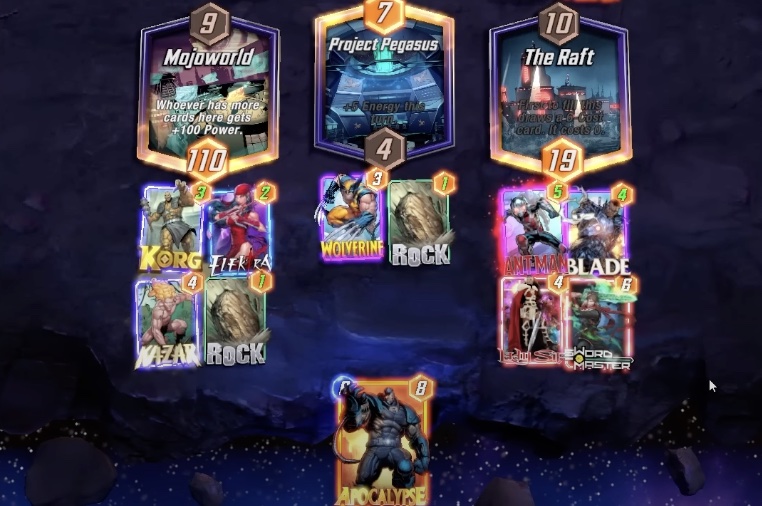
Here’s the deck:
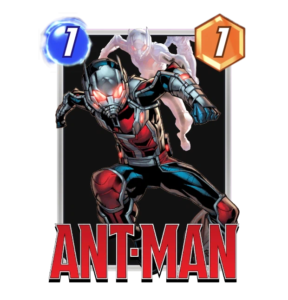


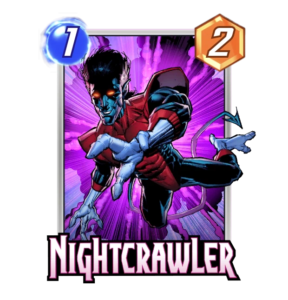


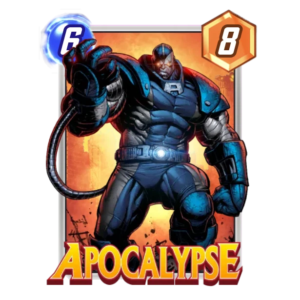
Why this deck works well – you have several 1-cost cards that let you pre-occuüy locations and put pressure to location at low costs. Some of your cards discard decks from your hand so you strategically want to use them to discard your Apocalypse so it will gain more energy so you can take over one location at the last turn.
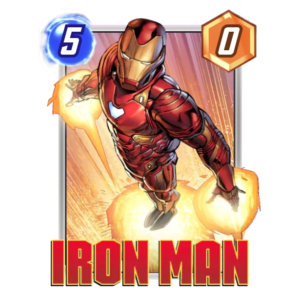
Win condition low-cost cards to pressure, Iron Man to double a locations’ power and Apocalypse when discarded for a strong last-turn push.
Problems – none that much, you can rather counter Zoo decks with Enchantress or even counter Devil Dinosaur. Also, Elektra is your key-counter to Sunspot that many players love to play in early Pool 2 which can cause big trouble. Counter that with a late Elektra and take over a location for one energy.
Substitutions – none, basically. You can think about replacing Korg but that is nothing game-changing.
Deck Copy Link (Copy-Paste directly into the game):
eyJDYXJkcyI6W3siQ2FyZERlZklkIjoiQW50TWFuIn0seyJDYXJkRGVmSWQiOiJFbGVrdHJhIn0seyJDYXJkRGVmSWQiOiJLb3JnIn0seyJDYXJkRGVmSWQiOiJOaWdodGNyYXdsZXIifSx7IkNhcmREZWZJZCI6IkJsYWRlIn0seyJDYXJkRGVmSWQiOiJBbmdlbGEifSx7IkNhcmREZWZJZCI6IldvbHZlcmluZSJ9LHsiQ2FyZERlZklkIjoiTGFkeVNpZiJ9LHsiQ2FyZERlZklkIjoiU3dvcmRNYXN0ZXIifSx7IkNhcmREZWZJZCI6IkFwb2NhbHlwc2UifSx7IkNhcmREZWZJZCI6IkVuY2hhbnRyZXNzIn0seyJDYXJkRGVmSWQiOiJJcm9uTWFuIn1dfQ==
How To Play
In the early turn you want to gain value with your cheap cards and putting pressure on your opponent to commit to certain locations while having all option for the other locations. Then you want to use your discard cards to make Apocalypse gain extra power. Sometimes you need to gamble a little bit and lose your Iron Man or another card, but that’s how it is (you can’t win every single match!)
Early Phase (Turn 1-3)
Play your 1-cost cards in different locations and keep pressure on your opponent. If you pull Apocalypse early without Iron Man in your hand also play your discarding cars to buff Apocalypse up. You might need to risk a little here but don’t risk your Iron Man at this stage. If you see your opponent playing Sunspot reserve your Elektra to counter that card late.
Mid Phase (Turn 4-5)
At this point you need to have your hand ready for the end, it will be either Apocalypse or Iron Man for the push in the end. Also, play your Enchantress now to counter Blue Marvel or Kazar if you need it and try to fix one of the locations.
End Phase (Turn 6)
Use Iron Man to double a location, Enchantress to take over a location or push hard in one location with Apocalypse that can have up to 16 power at this point. Don’t get oo intimidated by your opponent snapping, you might occur a lot weaker on the last turn as you really are.
Conclusion
A little further progressed deck but also one to enter Pool 2 with several cards that give other Pool 1 decks like Zoo a hard time. You can’t get countered that hard while having something at hand against double-Dino decks or Zoo decks yourself.