Congratulation on unlocking Rest in Peace, the 4th real in Peaks of Time. Here you will find a full walkthrough through the whole realm from start to end to complete this realm as fast as possible.
Recommended Hero Levels: 130+
This is another realm in Peaks of Time that requires the right path to take and this is what I have here in my walkthrough.
If you have troubles with your team, please refer to my frequently updated guide on the best teams in AFK Arena here or the tier list of the best heroes (including their best build). Also, don’t miss out on the recently new gift codes that I posted here.
Step 1 – right after start you will have one battle and then see the Archer Icon, stepping on this will harm all your agility based heroes automatically and cost them HP, but if you donÄt do this you have no chance to clear the realm.

The best thing is to step on it first and then attack the tile right behind it and don’t use any heroes that got harmed from the Archer Icon. After the attack, you can use the fountain to heal your whole squad up if needed (you need to decide – if half your roaster is at 50% you should heal, if only a few heroes are down you can wait for one or two more battles.
Step 2 – Next you will come to a point with another fountain and you need to go right and not to the top where you see the sword and bow icons.

By going right you will find triggers that will deactivate them and that’s the reason why we go right here.
Step 3 – you will follow that path and take the bottom route where you will find several Elite groups but that’s not a problem – following this route is by far the easiest route to clear the Rest in Peace realm.

At the end of the route you will find a shrine that will remove the intelligence debuff symbol from the map and therefore the debuff as well.
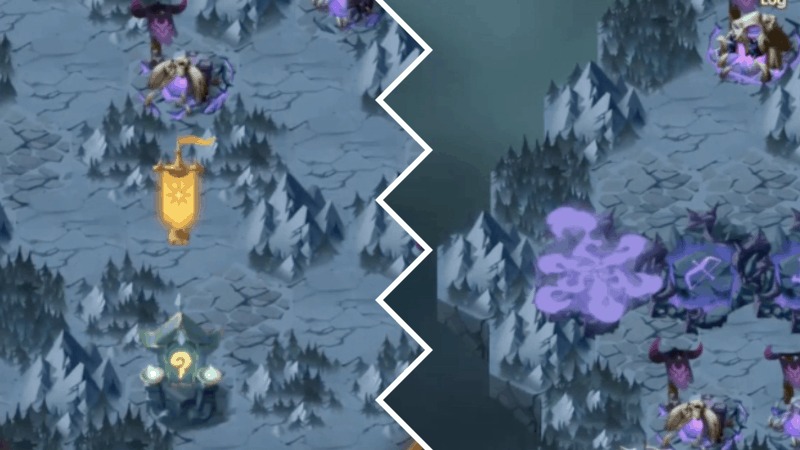
Step 4 – now you should follow the path and you only need two more battles against elite groups to deactivate the other two shrines to clear the path to the top section of the map.
Go to the bottom right corner shrine that will remove the agility debuff and then fight your way up to the top shrine that will remove the third debuff in Rest in Peace.

Don’t clear up the whole area when you have gotten the three shrines – you can now walk back to the point where you headed right and you can now open the top section and face the first section boss.
Step 5 – at this point you will walk back up there and Kaz will join your group and she is insanely strong and you will need her to actually clear Rest in Peace completely.
If you want to you can also clear the battle on the left side to get to the mercenary camp but if you have your team in good standing and haven’t used the fountain so far you should be good with Kaz to take down the section boss.

Why do we attempt the section boss of Rest in Peace now and clear later? Good question. The thing is, you want to always attempt the section boss as fast as possible – it’s the hardest fight and the more battles you have done the more heroes you could have lost. I’m not a big fan of collecting all the relics first and hope to get the right ones. If you can clear the boss you can clear the whole realm easily.
And that’s what you can do now and you’re done here 🙂
Ready for the next realm in Peaks of Time? Check out here my walkthroughs for The Ancient Ruins.


