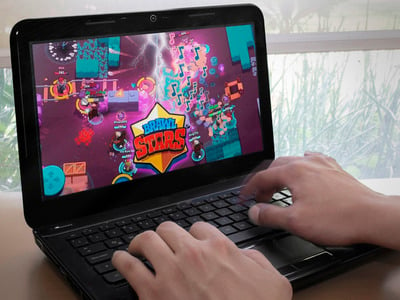
I think that a lot of you want to play Brawl Stars on your PC or Mac, for many reasons. Now the problem is, that many do it the wrong way and use the wrong tools to do it so the outcome is not a very enjoyable gaming experience – that’s why I am writing this guide. I will show you how you have to get Brawl Stars for your PC (and Mac), which tool works best (it’s NOT Bluestacks!) and how you need to set it up to play it very effectively.
If you already playing it on PC, make sure to check out the last chapter of this guide to discover a way how to do it more powerful! If you use Bluestacks, don’t use it anymore and see the section where I teach you why.
How To Download Brawl Stars For Windows PC & Mac
We all know, Brawl Stars is a game for mobile devices, so why do you even try to install it on a Windows PC or Mac? Well, there are numerous reasons why to do it:
- a lot out there do not have powerful smartphones with high-resolution displays or a tablet – Brawl Stars is not good on small screens!
- Better controls with keyboard & mouse!
- You don’t own an Android or iOS smartphone, like Windows Phone, Blackberry…
- Manage more than one accounts without problems
- Some use it at work in the office, where they don’t have WiFi/Internet connection on their mobile devices or not allowed to use their mobile devices during working hours
- Play without getting interrupted by messages & phone calls
- Stable recording (Youtubers)
- etc.
As you can see, there are different reasons and in fact, a big part play Brawl Stars primarily on a PC! Well, most suffer the same problems:
- lagging gameplay & high performance needed
- difficult setup
- crashes
Those are issues of the past – I will guide you how to do it the right way in this guide here.
Getting Banned For Playing GAMENAME on PC/Mac?
A very important question first, the reason why many don’t try it – are you getting banned for playing Brawl Stars on a PC or Mac?
The answer is NO!
I know there are many people out there telling that playingBrawl Stars on PC can get your account banned, but it’s not true. Brawl Stars is just not supported in case of any technical problems happens, in case you don’t play on iOS or Android.
The thing is, if you do it properly (like I show you below in this guide), you will not have any problems.
Step By Step Guide To Play Brawl Stars on PC & Mac
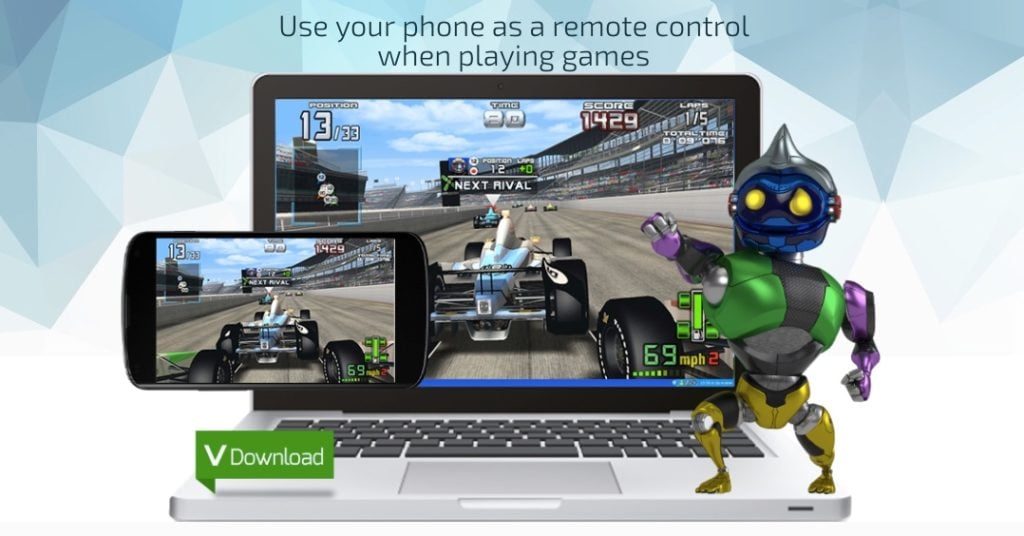
The tutorial to do it is not that complicated – you will get an emulator on your Windows PC (or Mac) which will emulate an Android device. No danger of getting banned and full game support.
Before we start, I’d like to give you some details to the emulator tools, because in my opinion it’s important for you to know that.
Why Not Bluestacks? Andyroid Is Much Better!
To give you the background, Bluestacks was initially developed to be a tool for app developers to test out their apps without loading it to their mobile devices – that was back in the 2010ish years.
In the beginning of mobile games, many didn’t own a smartphone to play with, so they simply were using Bluestacks (even if Bluestacks was not intended to be a gaming simulator) simply because it was the only thing that worked.
Today, Andyroid did develop an emulator which is designed from the scratch for people who want to play mobile games on their PC & Mac.
The advantages from Andyroid over Bluestacks:
- More simple setup (for real!)
- Much smoother (Bluestacks crashes often, Andyroid did not one time for me so far)
- Lower hardware requirements! Bluestacks is really turning my PC hot as it uses full hardware sources – Andyroid can’t get limited to only use what it needs (I’ll show you later)
If you played Clash Royale with Bluestacks so far, I really recommend trying out Andyroid!
So, now enough of all the background and talking, let’s get you started with Brawl Stars on your PC or Mac!
Step 1: Get Andyroid on your PC/Mac
Ok first of all, you will need to download Andyroid and install it.
You can download it HERE (for Mac or Windows PC)
Please wait until the installer finished successfully.
Then start Andyroid from your PC or Mac.
Step 2: Login Your Account (or start a new one)
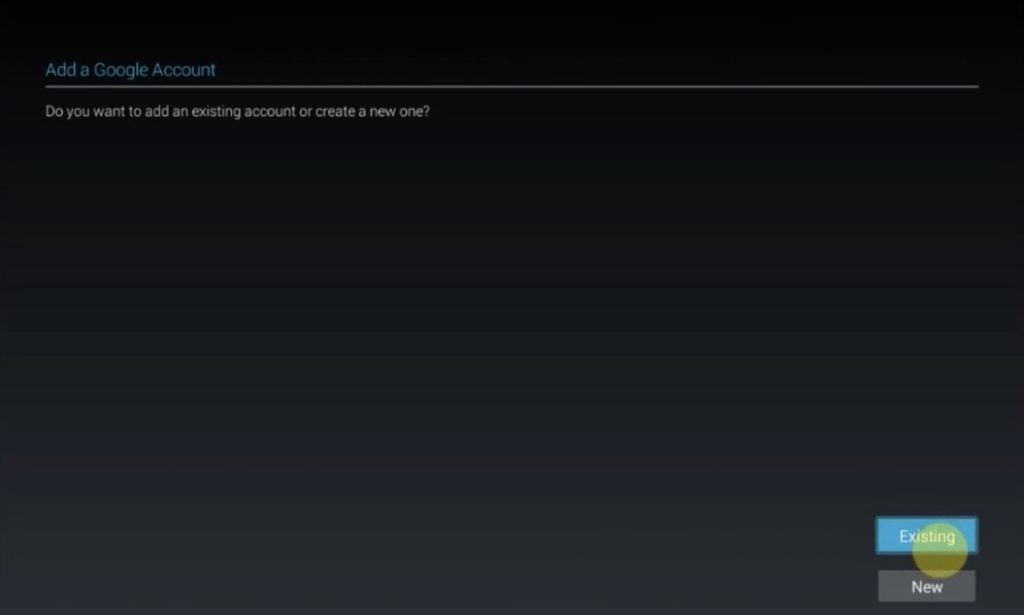
First of all, you will set your language settings and then it will ask you if you want to use your Google Play Account or create a new one:
If you want to use your exciting Brawl Stars Account, you will need to log in with your existing Google Play Account
If you want to start a new Brawl Stars Account (or secondary account), you will need to create a new one.
Now you’re set up and ready to install Brawl Stars.
Step 3: Get Brawl Stars Installed
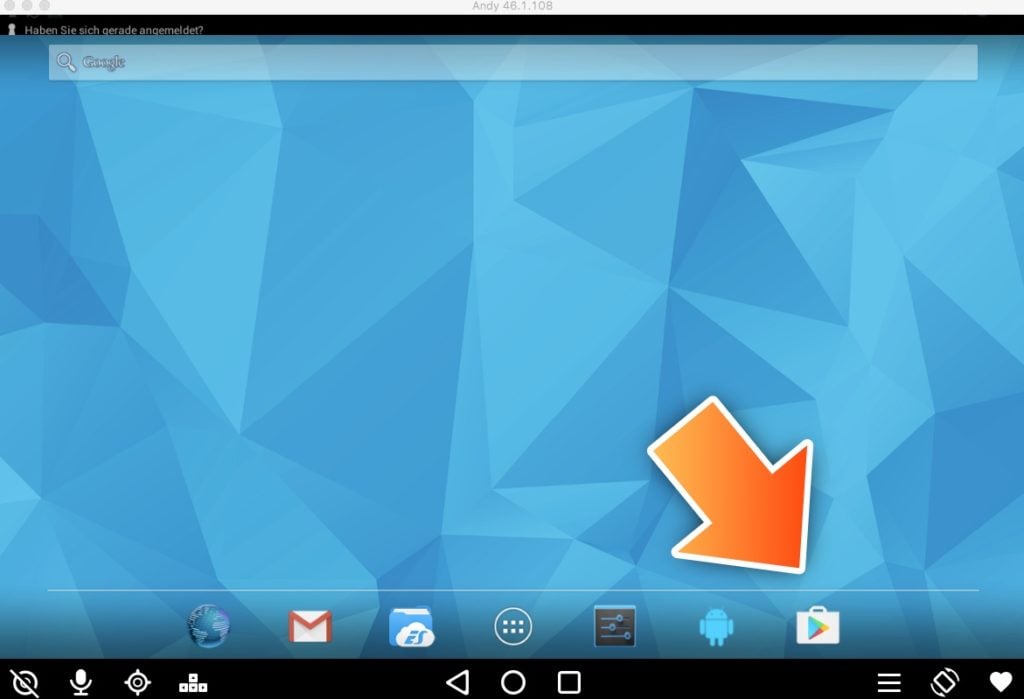
Now open up the Google Play Store.
Sometimes, you’ll see Brawl Stars right at the start – if not, simply search for “Brawl Stars” at the top.
Choose “install” and wait until Andyroid has been installing Brawl Stars.
You can now play, but I recommend you to also check the settings from step 4.
Step 4: Configuration
In theory, you are able to play now, but here’s how you should set up your Andyroid install to get the best experience – I highly recommend you to do this!
Adapt Hardware Resources
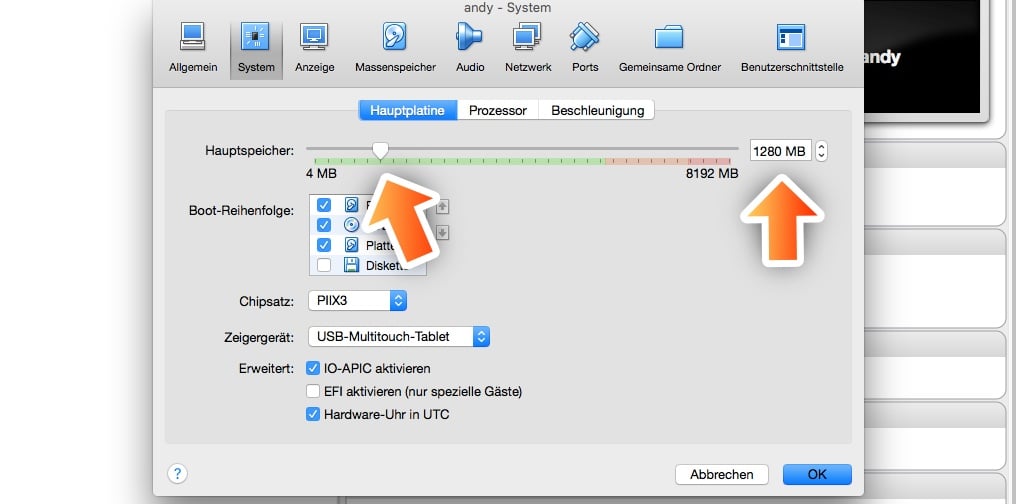
Andyroid will not need more than 1024 MB of memory and 2 CPUs (if you’re using a desktop PC, you can also choose 1 CPU as they are stronger than notebook CPUs). You can set it up in the “Virtual Box” settings – Andyroid will set this at the start automatically, but it doesn’t hurt to double check it.
Setup Keyboard Support
Playing with keyboard hotkeys will make your life a lot easier because it will allow you to do things without clicking around all the time.
This should also be set and you can see it when you start Brawl Stars in Andyroid.
You’re now set to play the game, so have fun 🙂



i wish i could play bs
i wish i could play bs on d4