Ceroli Crisis is an event that requires you to work well in a team with the right setup and also prepare for the different stages of each battle as the bosses are more than just running stats versus stats – they require you to have a strategy and a solid team.
I really recommend not to play random matchmaking here because many of the players you will get matched with don’t know what they’re doing so rather pick friends or clanmates.
What you will find below is the best strategy to use to beat each of the individual bosses.
Keira

Keira is actually a pretty straightforward battle in the Ceroli Crisis but it can be a little random depending how the shield domes spawn.
Commander Suggestions: Ghengis Kahn/YSG is a really well combo to work with here, Minamoto is a nice commander to have in your team. Edward or Tomyris is also nice in your team to increase the skill damage Keira takes.
Strategy: So, during the fight you will see two blue shield domes süawn on the battlefield and that’s when you immediately have to move under them to not get hit by a huge AoE damage that Keira will cast shortly after.
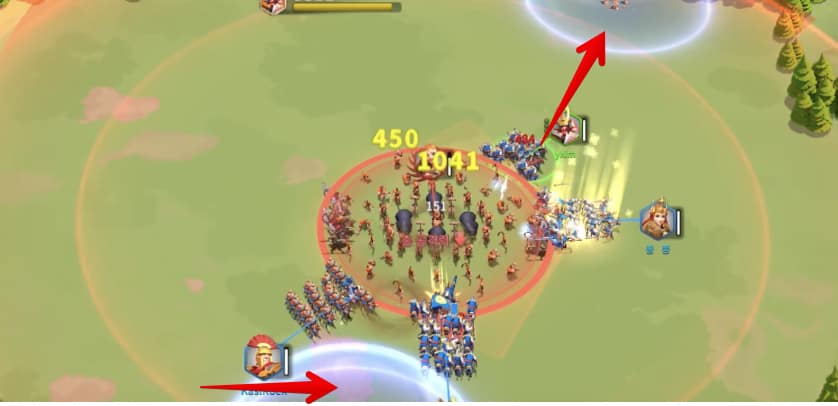
After that, get back to your initial position and stay clockwise around her with 90 degree in between you and your next teammate.
Frida
 Frida has some interesting twists and also requires you and your team to pay close attention to what she’s doing to beat her.
Commander Suggestions: as tempting as bringing damage sounds here, it’s a 10-minute fight so you rather want a sustainable commander setup here. Ghengis Khan/Takeda works really well, Alexander/Charles does work or Pelagius/Sun Tzu is also a viable combo.
Strategy: The fight against Frida has different stages and that’s what you should focus on.
First of all, you should all be in a different direction and have about 90 degree in between you and the next team member so you won’t get hit simultaneously by her 90 degree attack in the first stage.
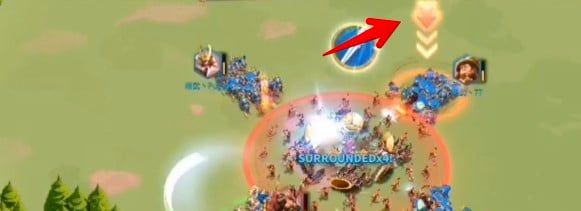
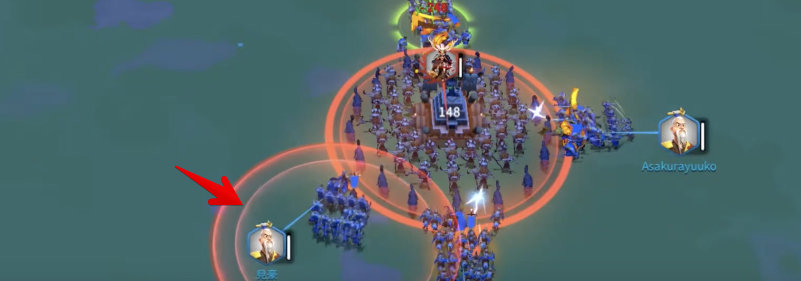
During that stage, you will see that randomly one of you will get a red circle that is filling in the animation and once it’s filled, it will deal extreme damage. If you see that under you, start moving out of that circle and wait until it goes off until you return back and join back the fight:
At one point she will then turn invincible (you can see that as she will appear as kind of frozen) and there will spawn some minor armies in the corners that will attack you.
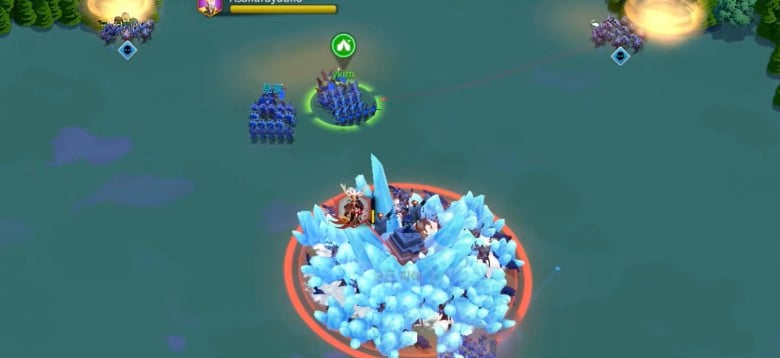
You need to go to the very edges here and fight those spawners and stay in the edges as at the end of that phase she will explode and deal massive damage on almost the entire map and you don’t want to stay in that radius when it happens. Stay in the edges and fight the spawners.
After that, go back and repeat the first phase where the red circle spawns randomly under one of your teammates and carry on until you have her beaten.
Astrid
 Astrid is not an easy one and requires all of your team to know exactly what you’re doing and also to follow the right timing or you can die a real quick death within seconds.
Commanders Suggestion: You can use your single target damage commanders like Genghis Khan, Coa Coa, Minamoto,…
Just pick the one that can deal much damage and also has a decent march speed (you will see below why march speed matters here a lot).
Strategy:
In Phase 1 Astrid will target a 90 degree fan-shaped area in front of her and leave a really strong debuff. Your highest priority here is that only the player in your team who is tanking should get this debuff and the others have to be located somewhere else and not next to that player!
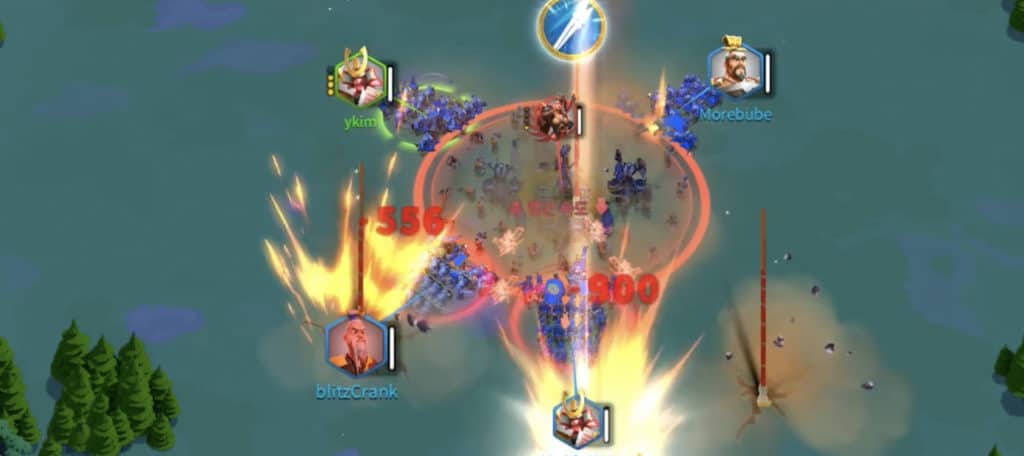
You can see here that two players of the team get that initial debuff and this is a really bad situation to start this boss battle against Astrid!
In Stage 2, Astrid will change her attacking skill and from here on you will need to watch out for that red arrow over the head of one of you and in that situation you have to leave the fight immediately and run away. After Astrid stopped chasing you, you can go back into the fight:
