Strong heroes are important in Watcher of Realms but so are the team setups that are heavily depending on the maps and the enemies you have to fight against. While our tier list of the heroes reflect the general strength overall, it doesn’t tell you much how to solve certain stages in the game.
But here comes the hard part, although the devs have included a guide section in the game that is supposed to help you we can all agree that it is lackluster. It’s clustered with tagged videos of creators that have relations with them and the generated hero advice is primarily gathered through the top spenders. Bummer.
What I wanted to do is make a guide that will give you setups but instead of saying “oh see these heroes work” and then you look at your hero roaster and see “well, nice to know, but I don’t have all of the heroes or not invested enough in them, yet” – I wanted to give you recommendations what heroes work well in the different positions so you can puzzle your team together depending on the heroes that are available to you.
Update: I initially wanted to fit that all in one guide but it was so huge that I split it up, so please select the stage you are looking for below and go to the guide with my hero and team setup recommendations there.
Best Gear Raid Teams
Let’s start with the Gear Raids, probably the most important ones…
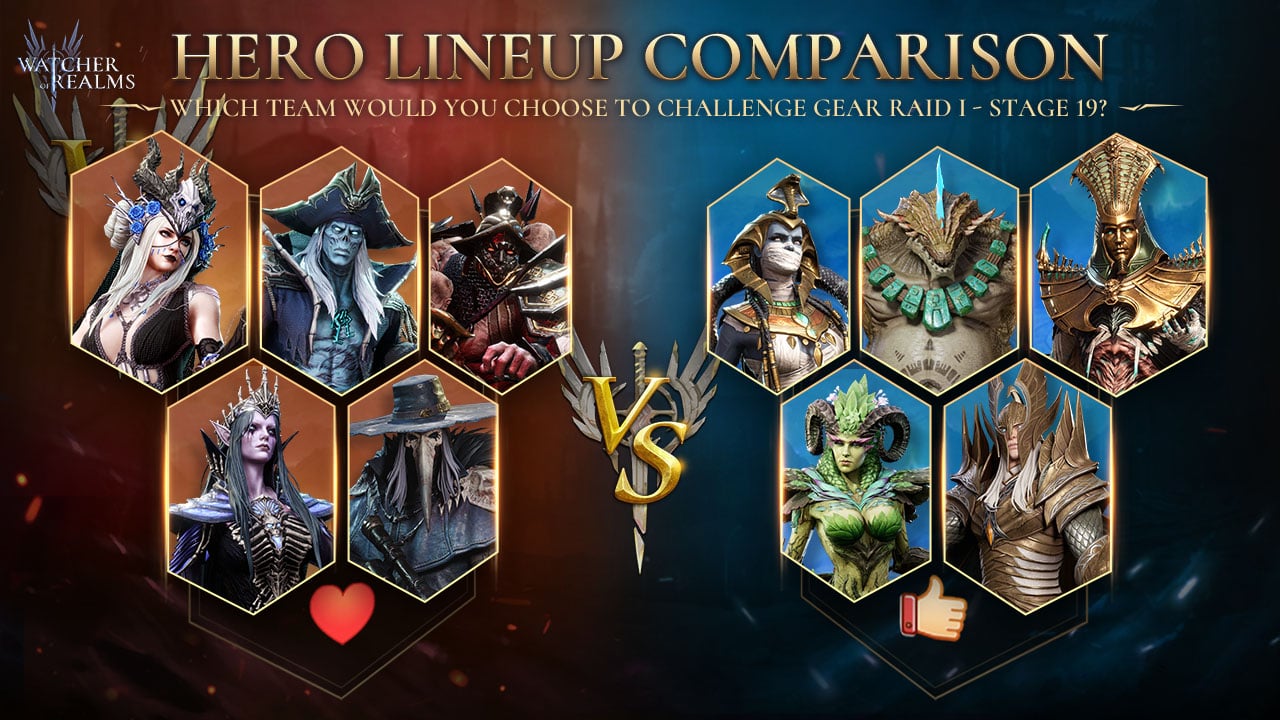
Gear Raid 1

There are two different maps available in Gear Raid 1 and Stage 1-18 share the same map and pretty much the same enemies.


Gear Raid 2

There are two different maps available in Gear Raid 2 and Stage 1-12 share the same map and pretty much the same enemies.
For the second part, Stage 13-18 share a slightly different map but with the sandstorm happening there are more things that you need to mind:

And with more area effects and a slightly different map, here the final part: