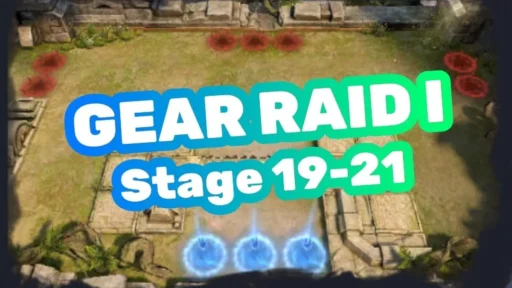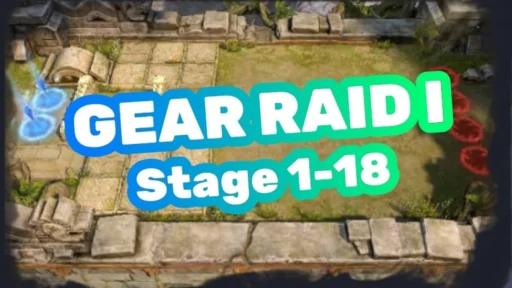
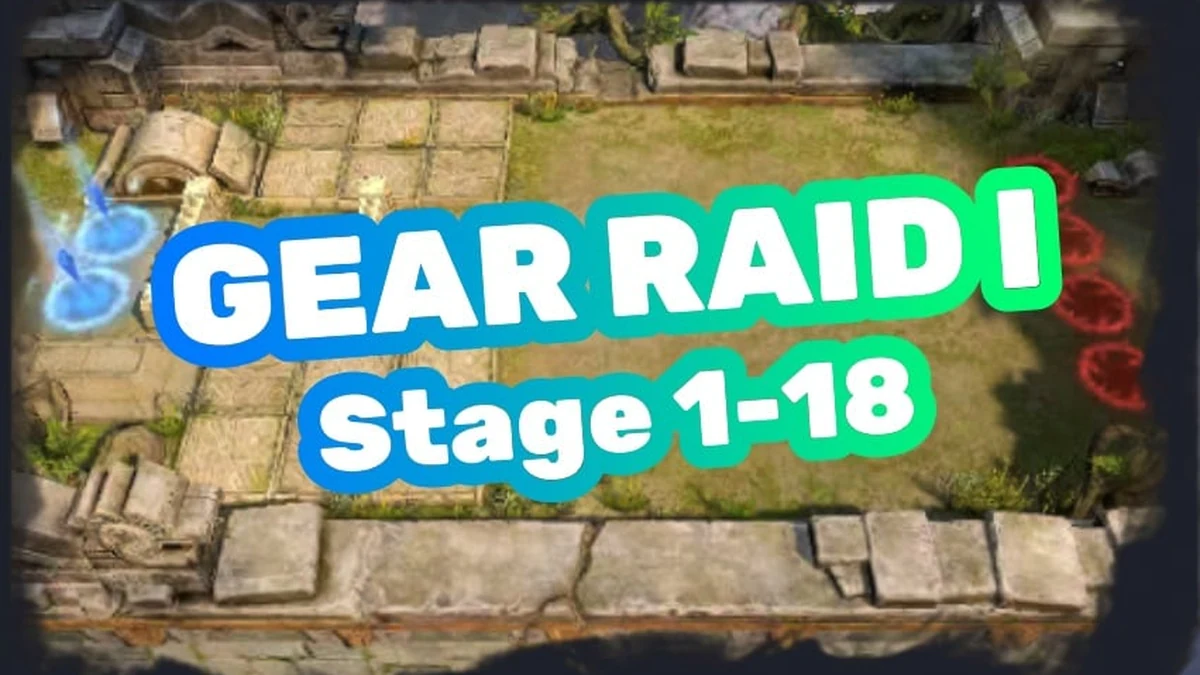
This is the first raid where you will find weapons and breastplates for your heroes and the guide I have seen for it are not that helpful for several reasons – one is that for earlier players you only soo heroes recommended there that you probably don’t have and also a lot of heroes are recommended that are not that easily obtainable altogether.
But here is the good news… Use my blueprint of heroes below and you will have quite a good time going through the stages and if if you hit a wall you will quickly see that it is probably due to total damage output at the end which requires not having different heroes but rather building your heroes more.
Important tip here: if you see your team being quite alive well but simply not being able to take down the enemies before they cluster up too much, you very likely don’t need different heroes you rather need to build your heroes up higher for that stage. Sounds lame but the reality is that the power levels make or break you in Gear Raid I.
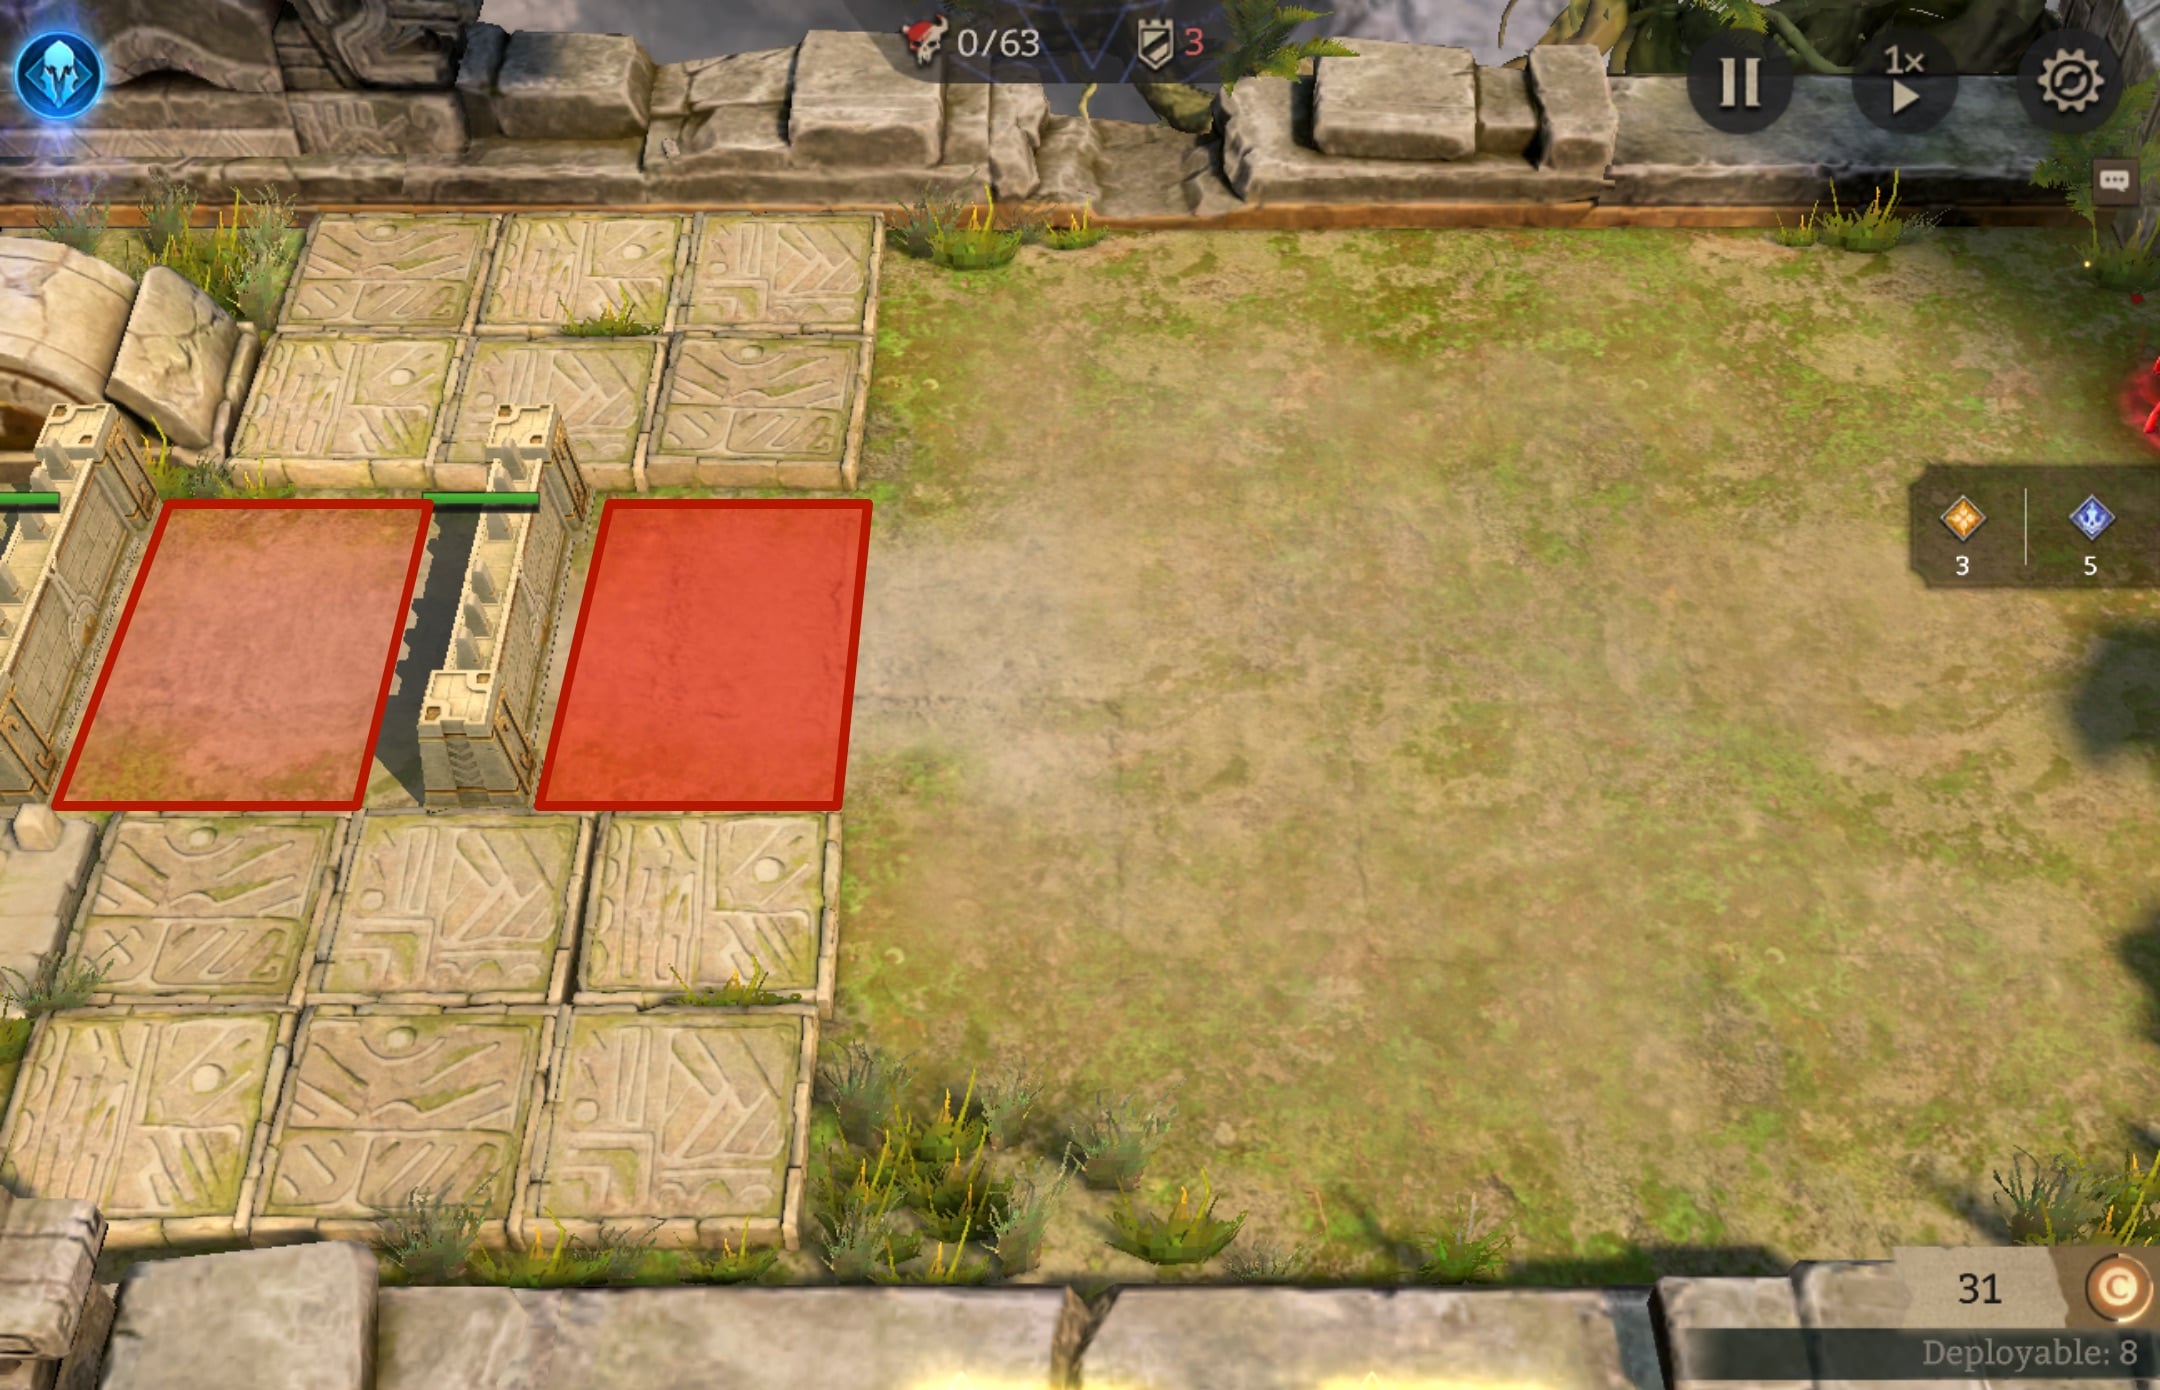
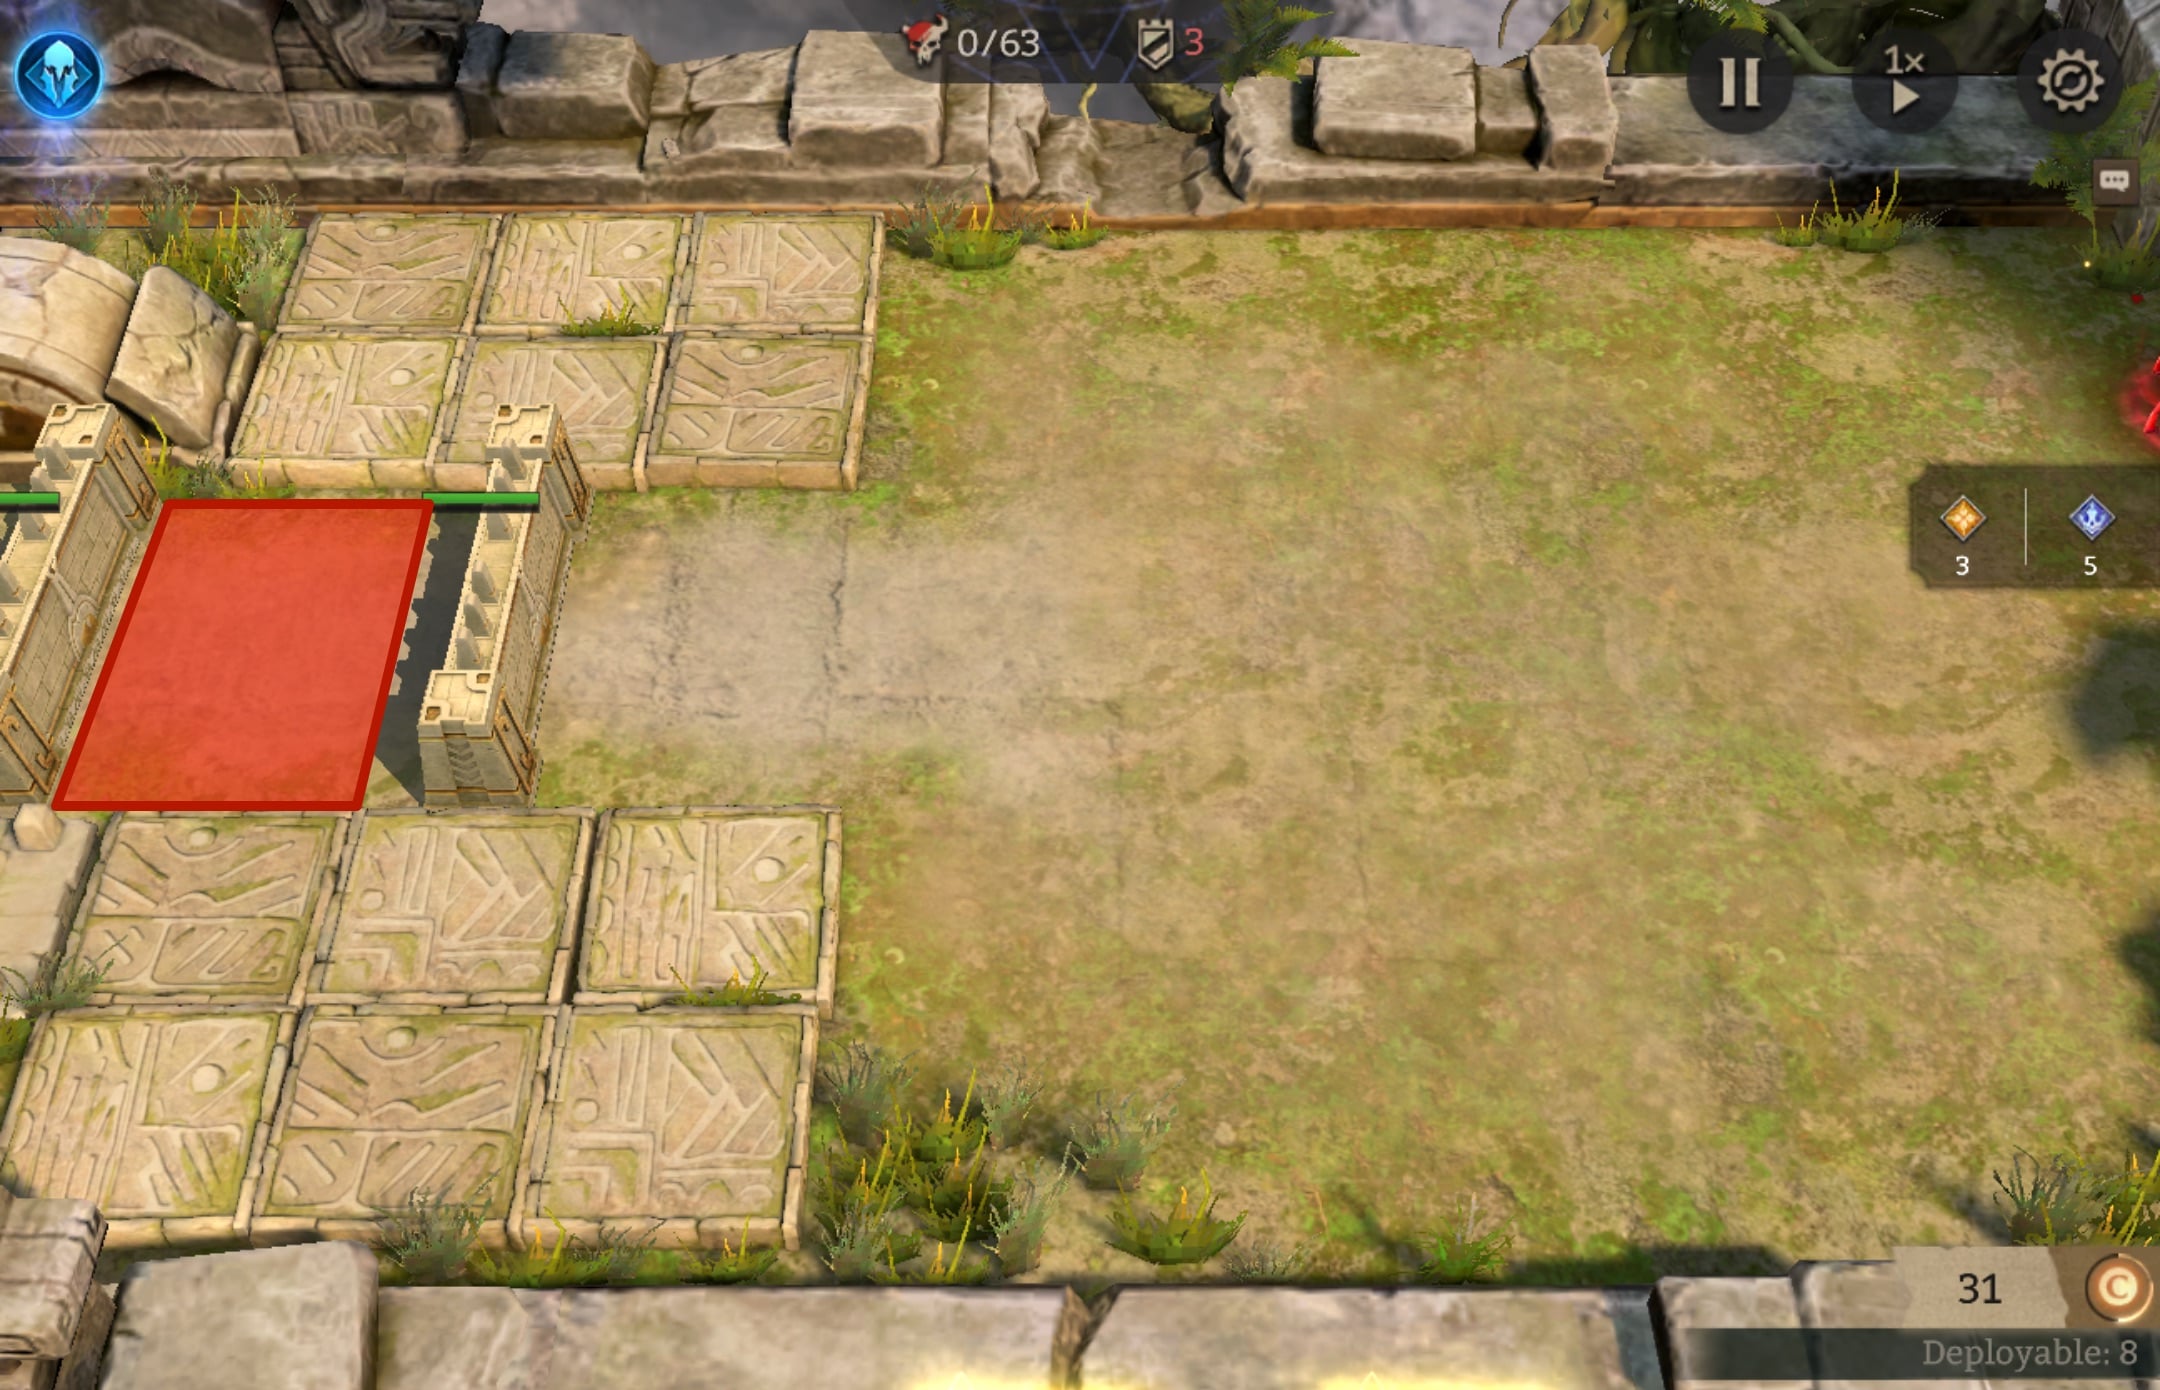
If you’re looking for the other raid teams and other team setups, please check out the full overview of them here and here you will find the guide for the map of Stage 19-21.
Best Heroes for Gear Raid 1
Here are the heroes that work so go through your roaster and pick the ones that are available to you.
Healer/Support Heroes for Gear Raid 1
Not just your melee heroes will suffer damage here and you also need to keep your mages and ranged heroes alive by constant healing and also buff their damage output. Your heroes dying or not dealing enough damage to the waves is the make-or-break point here.
Melee Heroes for Gear Raid 1
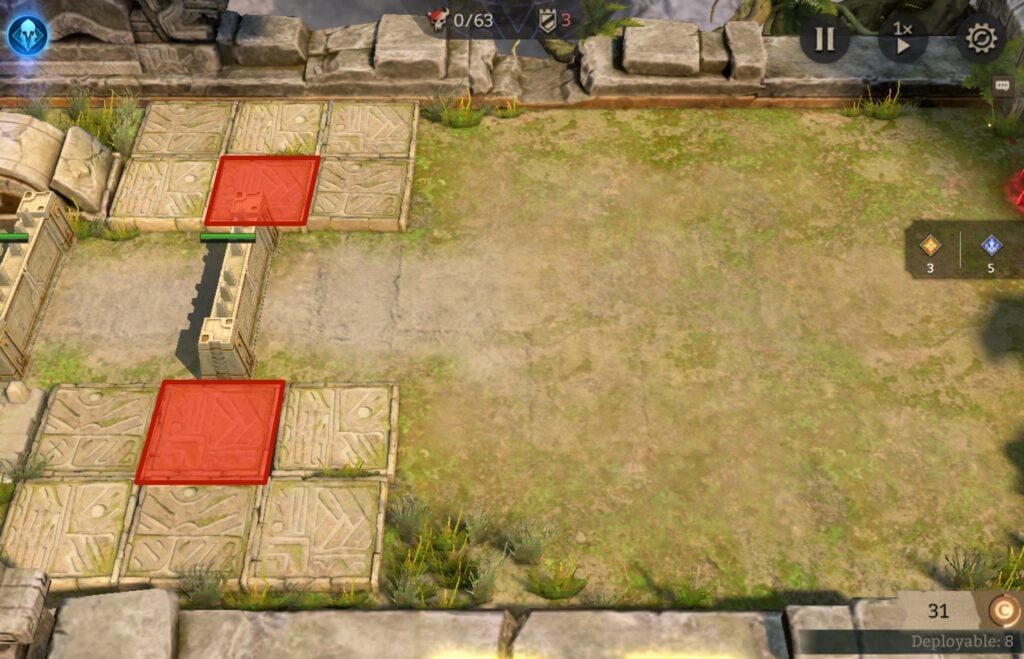
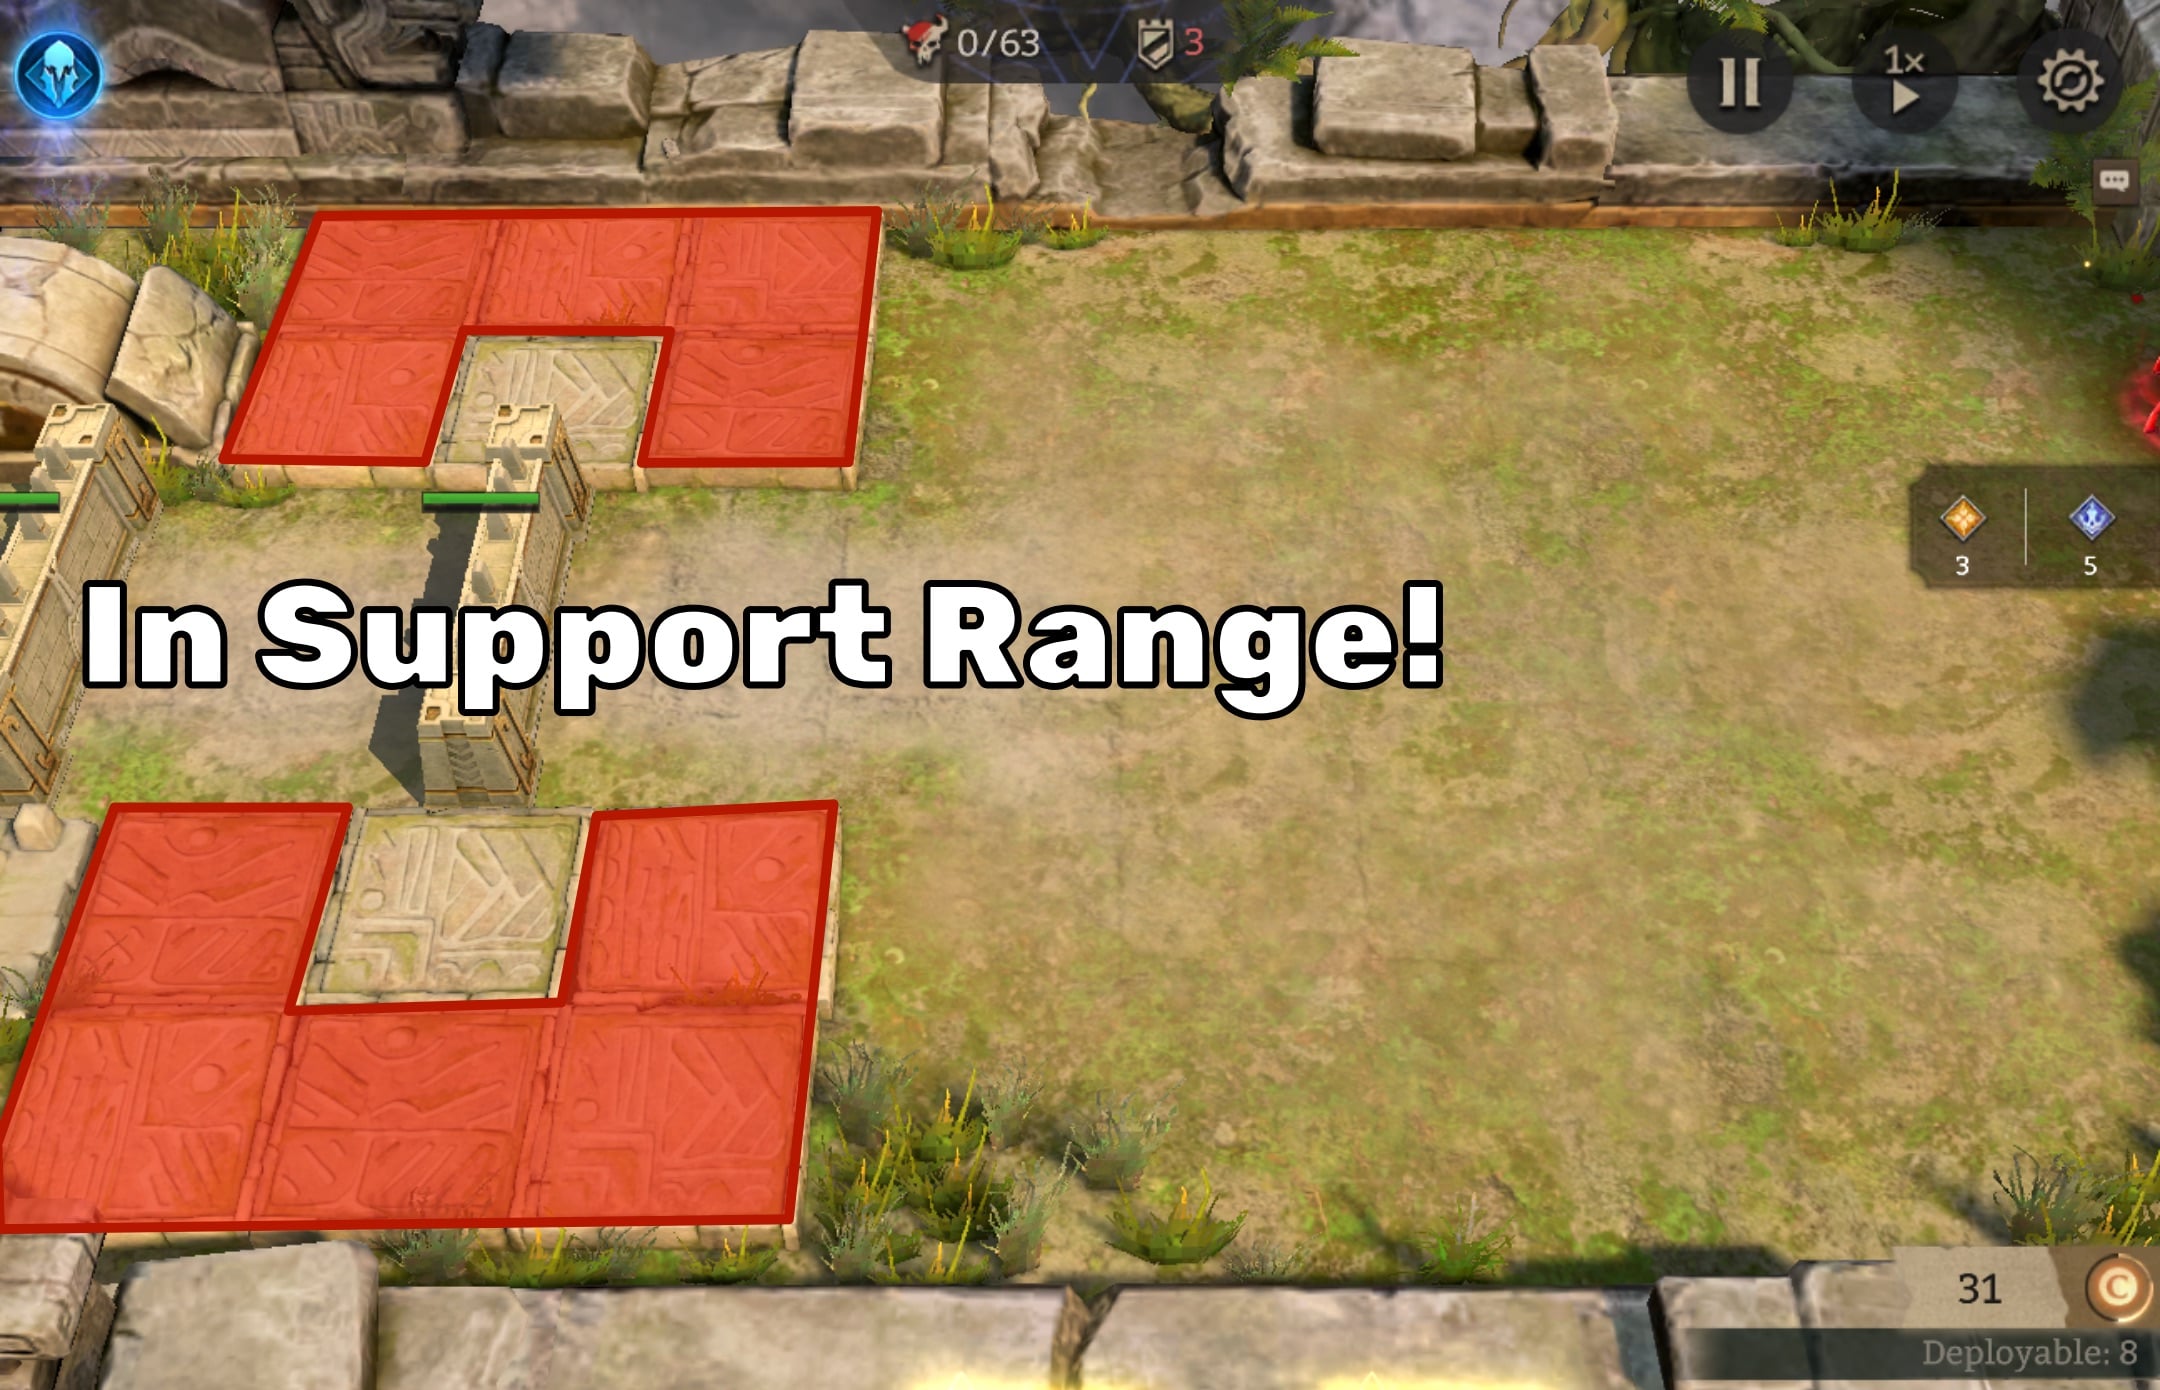
Melee heroes are not used to actually tank here, the massive waves with their damage will be too much but you can use the ones with a longer range or a special kit to actually deal damage bhind the first row of walls so the mobs will hit the wall while your heroes can hit through the wall and deal damage. There are a couple of heroes that can do that and you should use them if they are available to you. Also make sure that you place them in range of your healer since they will still be hit by the wave attacks to some degree. They all have the range to hit through the wall and never place them in the first line!
AoE DPS Heroes for Gear Raid 1
And now the heart of it, filling your team with the strong AoE DPS heroes that will do most of the work here. Make also sure to place them in range of your healer/support heroes to keep them up and make sure that they deal as much damage as possible. Ideally you place them on the side of your healer as they have a range that is also behind them so you can place your heroes comfortably in their area.
Team Setup in Gear Raid 1 – Stage 1-18 Map
So, this guide gives you different heroes for different positions and roles and I also ranked them by how well they work. Still, if you pack 3 healers in there you will very likely will lack DPS and if you only put AoE damage dealers in there you will lack support and stopping heroes and range will become an issue.
As a general rule you want to have 2x support/healers + 1-2x fighter + rest AoE damage dealing heroes and here are the ones with my recommended positions:

 Tier S+
 Tier S+
Scales any team since she is based on percentage. Is not in for the heal here so make sure to use a real healer but to buff ally attack by a lot. Works early and later in all stages really well.
 Tier S+
His ultimate is probably the msot efficient damage dealing option you have here of all heroes.
 Tier S+
 Tier S+
 Tier S+
 Tier S+
Slow is useful bit even more important she has a Heal Block which makes her perfect for Gear Raid 1.
 Tier S+
 Tier S+
Amazing epic hero for GR1 with her AoE damage and whole kit that excels in this raid mode and is a must for almost all players that can't build a full legendary team here.
 Tier S
Although only single-target damage, he delivers his damage with piercing damage reliably in GR1 as well.
 Tier S
Her damage by herself doesn't outshine other mages but she can boost other mages so espcially if you use mages here, she is a great booster.
 Tier S
Amazing as support who provides a lot of rage for the team and some healing as well. A great fir for GR1.
 Tier S
He delivers a ton of area damage when he dies so you can place him in the front (and after the first wall line breaks the back row) and he will constantly die and deal more and more damage to the more grouped up mob waves. Works incredibly well here.
 Tier S
Works great and even better when used with heroes that provide death bonus (Cerberus and Attrox) where she massively increses her damage output passively when they die.
 Tier A+
Can tank in frontrow and espcially when used with Cerberus will do such a great job. Without Cerberus not too well!.
 Tier A+
 Tier A+
Great epic hero here with amazing range so can be placed way back and still reach the whole middle area and with his ultimate that freezes you will see him deal a ton of damage here.
 Tier A+
also a great epic area damage dealer that is for sure a hero you can run here successfully.
 Tier A+
 Tier A+
Great for GR1 Stage 1-18 with his kit. Please mind, many rankings show him great in GR1 but he actually isn't that useful in Stage 19 and above!.
 Tier A+
 Tier A+
 Tier A+
Although GR1 is probably her weakest game mode, she still does quite some work here and works well enough to make it in my list.
 Tier A+
Her range make her one of the few fighters that can work comfortably behind the first wall.
 Tier A+
His focus fire works very well to deliver the damage you need to take the boss down so don't underestimate what he can do here.
 Tier A+
Great damage and crow control make him one of the few defenders that work in this mode and actually does quite some work here.
 Tier A+
Basically the legendary version of Maul here althoughhh needs a team that can help scale his ultimate burst up to really shine.
 Tier A+
Primarily in for her protection of fatal damage for allies to cheat death here and there. YOur heroes will go down here and there so she helps a lot keeping the DPS output stable.
 Tier A+
 Tier A+
A defender that can heal makes her quite unique but also can make her work here. Not the greatest option but surprisingly solid.
 Tier A+
 Tier A
His range absolutely qualify him for this stage although overall he wouldn't be my first pick here.
 Tier A
Her range, espcially in ultimate, works really well here but she just lacks overall damage output to be a great pick. Still works, don't get me wrong.
 Tier A
She works well when consistently killing enemies so GR1 provides that flow to make her kit roll.
 Tier A
She can prevent one-shot but keep in mind that her healing is very likely not high enough to keep your team up.
 Tier A
 Tier A
 Tier A
Not for damage but she provides costs for all allies so if you run a team with heroes that depend on dying, she can battery costs here.
Conclusion
I know there is no one-fits-all setup here so you have to adapt the heroes with your roaster and see how they work together – bottom line I feel this is still a much bigger help than the guides you see inside the game which I have a couple of throughts on that I rather keep to myself why certain creators are constantly listed there and why certain heroes are pushed in the recommendations. Feel free to interpret that however you want but even more important, just let me know in the comments if you have questions or think I should list other heroes as well.
 Keep AllClash one tap awayAdd it to your home screen and it opens full screen, like an app.