



Last season it took Hutch until December to release the first Special Editions and this season they already pushed them in August. The Paddock Picks are here and although the very first ones look less overpowered, they already leave their mark on the table and this weekend event will already show you the true potential they have. No legendary drivers allowed, but special editions and we have below our full guide updated with the new drivers.
Please also mind that we update our regular series guides every week with the Featured Assets that have a stats boost – check out Series 3 here, Series 4 here, Series 5 here, Series 6 here, Series 7 here, Series 8 here, Series 9 here, Series 10 here, Series 11 here and Series 12 here.
⚠️ IMPORTANT ⚠️ Please make sure to select the right class below.
Event Overview
The races are done all in the same conditions and setups, no matter what day. The races you have on the Qualifying Day are exactly the same you have in the Opening Round and in the Final Round, including the weather conditions. Use the links here to jump to the race.

Remember, you can change your car/driver setup for each race and you should – this means you will get the ideal setup for each single one to make sure you land the best prices at the end of the final round of the event.
JUNIOR CLASS ▽ (Series 1-3)
Qualifying Round Strategy
 Melbourne Junior
 Shanghai Junior
 Monaco Junior
 Jeddah Junior
Opening/Final Round Strategy
Melbourne Junior Monza JuniorShanghai Junior
 Montreal JuniorMonaco Junior
 Austin JuniorJeddah JuniorMelbourne Junior


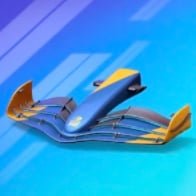
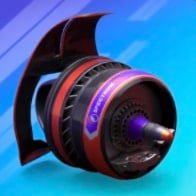
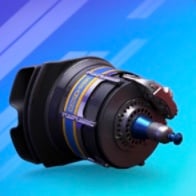
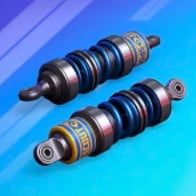


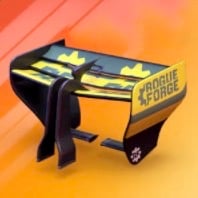
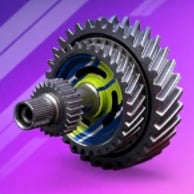
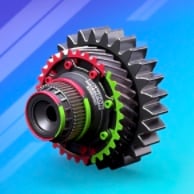
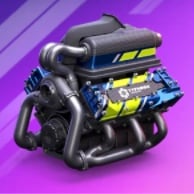
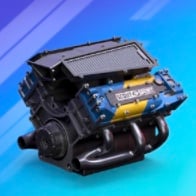


The ideal car setup for this very race in the event:
- Front Wing: Zephyr
- Brakes: Flow 2K
- Suspension: Jumpstart
- Rear Wing: Tailwind
- Gearbox: Stratos
- Engine: Tempest
- Battery: Overcharge Not Available
With the top drivers that you should choose from:






And this is the pit stop strategy and tires you should use





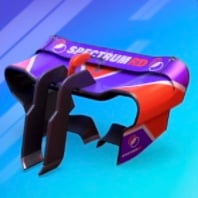
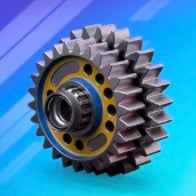
The ideal car setup for this very race in the event:
- Front Wing: Zephyr
- Brakes: Anchor
- Suspension: Jumpstart
- Rear Wing: Wobble
- Gearbox: Stratos
- Engine: Bedrock
- Battery: Overcharge Not Available
With the top drivers that you should choose from:


And this is the pit stop strategy and tires you should use

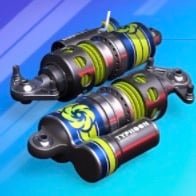

The ideal car setup for this very race in the event:
- Front Wing: Wind Guard
- Brakes: Flow 2K
- Suspension: Shockwave
- Rear Wing: Air Channel
- Gearbox: Stratos
- Engine: Bedrock
- Battery: Overcharge Not Available
With the top drivers that you should choose from:
And this is the pit stop strategy and tires you should use



The ideal car setup for this very race in the event:
- Front Wing: Wind Guard
- Brakes: Flow 2K
- Suspension: Shockwave
- Rear Wing: Air Channel
- Gearbox: Stratos
- Engine: Bedrock
- Battery: Overcharge Not Available
With the top drivers that you should choose from:

Unlock all 12 sections Hide plans
And this is the pit stop strategy and tires you should use


The ideal car setup for this very race in the event:
- Front Wing: Zephyr
- Brakes: Flow 2K
- Suspension: Jumpstart
- Rear Wing: Tailwind
- Gearbox: Stratos
- Engine: Tempest
- Battery: Overcharge Not Available
With the top drivers that you should choose from:
And this is the pit stop strategy and tires you should use





The ideal car setup for this very race in the event:
- Front Wing: Zephyr
- Brakes: Flow 2K
- Suspension: Jumpstart
- Rear Wing: Tailwind
- Gearbox: Stratos
- Engine: Tempest
- Battery: Overcharge Not Available
With the top drivers that you should choose from:
Unlock all 12 sections Hide plans
And this is the pit stop strategy and tires you should use

The ideal car setup for this very race in the event:
- Front Wing: Zephyr
- Brakes: Anchor
- Suspension: Jumpstart
- Rear Wing: Wobble
- Gearbox: Stratos
- Engine: Bedrock
- Battery: Overcharge Not Available
With the top drivers that you should choose from:
Unlock all 12 sections Hide plans
And this is the pit stop strategy and tires you should use
The ideal car setup for this very race in the event:
- Front Wing: Zephyr
- Brakes: Flow 2K
- Suspension: Jumpstart
- Rear Wing: Tailwind
- Gearbox: Stratos
- Engine: Tempest
- Battery: Overcharge Not Available
With the top drivers that you should choose from:
And this is the pit stop strategy and tires you should use
CHALLENGER CLASS ♢ (Series 1-6)
Qualifying Round Strategy
Melbourne ChallengerShanghai ChallengerMonaco ChallengerJeddah ChallengerOpening/Final Round Strategy
Melbourne ChallengerMonza ChallengerShanghai ChallengerMontreal ChallengerMonaco ChallengerAustin ChallengerJeddah ChallengerMelbourne Challenger

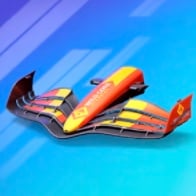
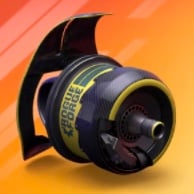
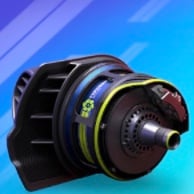
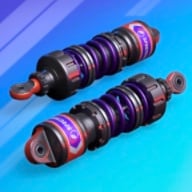

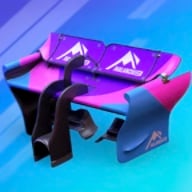
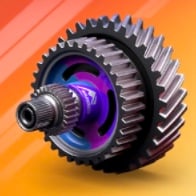
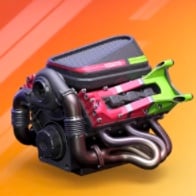

The ideal car setup for this very race in the event:
- Front Wing: Laminar
- Brakes: Scramble
- Suspension: Stability Unit
- Rear Wing: Tailwind
- Gearbox: Shift X
- Engine: Tempest
- Battery: Charge Core
With the top drivers that you should choose from:




And this is the pit stop strategy and tires you should use

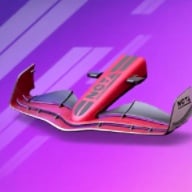
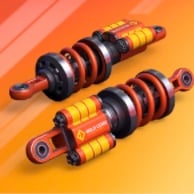
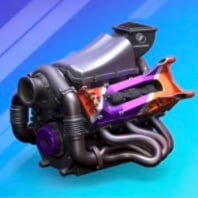
The ideal car setup for this very race in the event:
- Front Wing: Flashpoint
- Brakes: Aegis
- Suspension: Equilibrium
- Rear Wing: Vibe Lift
- Gearbox: Shift X
- Engine: Velocity
- Battery: Charge Core
With the top drivers that you should choose from:



And this is the pit stop strategy and tires you should use

The ideal car setup for this very race in the event:
- Front Wing: Flashpoint
- Brakes: Scramble
- Suspension: Equilibrium
- Rear Wing: Air Channel
- Gearbox: Stratos
- Engine: Axis 3000
- Battery: Charge Core
With the top drivers that you should choose from:
And this is the pit stop strategy and tires you should use


The ideal car setup for this very race in the event:
- Front Wing: Flashpoint
- Brakes: Scramble
- Suspension: Equilibrium
- Rear Wing: Air Channel
- Gearbox: Stratos
- Engine: Axis 3000
- Battery: Charge Core
With the top drivers that you should choose from:
Unlock all 12 sections Hide plans
And this is the pit stop strategy and tires you should use
The ideal car setup for this very race in the event:
- Front Wing: Laminar
- Brakes: Scramble
- Suspension: Stability Unit
- Rear Wing: Tailwind
- Gearbox: Shift X
- Engine: Tempest
- Battery: Charge Core
With the top drivers that you should choose from:
And this is the pit stop strategy and tires you should use
The ideal car setup for this very race in the event:
- Front Wing: Laminar
- Brakes: Scramble
- Suspension: Stability Unit
- Rear Wing: Tailwind
- Gearbox: Shift X
- Engine: Tempest
- Battery: Charge Core
With the top drivers that you should choose from:
Unlock all 12 sections Hide plans
And this is the pit stop strategy and tires you should use
The ideal car setup for this very race in the event:
- Front Wing: Flashpoint
- Brakes: Aegis
- Suspension: Equilibrium
- Rear Wing: Vibe Lift
- Gearbox: Shift X
- Engine: Velocity
- Battery: Charge Core
With the top drivers that you should choose from:
Unlock all 12 sections Hide plans
And this is the pit stop strategy and tires you should use
The ideal car setup for this very race in the event:
- Front Wing: Laminar
- Brakes: Scramble
- Suspension: Stability Unit
- Rear Wing: Tailwind
- Gearbox: Shift X
- Engine: Tempest
- Battery: Charge Core
With the top drivers that you should choose from:
And this is the pit stop strategy and tires you should use
CONTENDER CLASS ⭔ (Series 1-9)
Qualifying Round Strategy
Melbourne ContenderShanghai ContenderMonaco ContenderJeddah ContenderOpening/Final Round Strategy
Melbourne ContenderMonza ContenderShanghai ContenderMontreal ContenderMonaco ContenderAustin ContenderJeddah ContenderMelbourne Contender
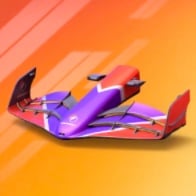
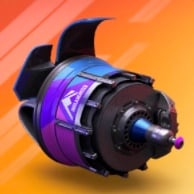
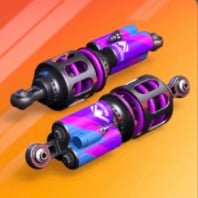

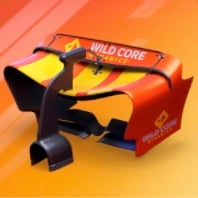
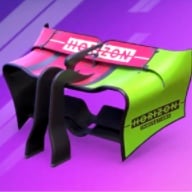
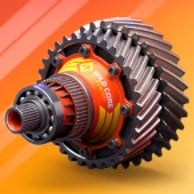
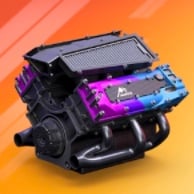


The ideal car setup for this very race in the event:
- Front Wing: Laminar
- Brakes: Aura Lock
- Suspension: Motion Link V2
- Rear Wing: Impact
- Gearbox: Shift X
- Engine: DriveOS
- Battery: Power Grid
With the top drivers that you should choose from:




And this is the pit stop strategy and tires you should use
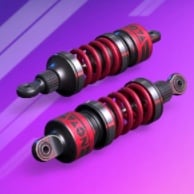

The ideal car setup for this very race in the event:
- Front Wing: Flashpoint
- Brakes: Aegis
- Suspension: Curver 3-0
- Rear Wing: Downforce
- Gearbox: Lockdown
- Engine: Velocity
- Battery: Charge Core
With the top drivers that you should choose from:


And this is the pit stop strategy and tires you should use

The ideal car setup for this very race in the event:
- Front Wing: Leading Edge
- Brakes: Aura Lock
- Suspension: Equilibrium
- Rear Wing: Downforce
- Gearbox: Stratos
- Engine: Axis 3000
- Battery: Energy Reserve
With the top drivers that you should choose from:
And this is the pit stop strategy and tires you should use


The ideal car setup for this very race in the event:
- Front Wing: Leading Edge
- Brakes: Aura Lock
- Suspension: Equilibrium
- Rear Wing: Downforce
- Gearbox: Stratos
- Engine: Axis 3000
- Battery: Energy Reserve
With the top drivers that you should choose from:
Unlock all 12 sections Hide plans
And this is the pit stop strategy and tires you should use
The ideal car setup for this very race in the event:
- Front Wing: Laminar
- Brakes: Aura Lock
- Suspension: Motion Link V2
- Rear Wing: Impact
- Gearbox: Shift X
- Engine: DriveOS
- Battery: Power Grid
With the top drivers that you should choose from:
And this is the pit stop strategy and tires you should use


The ideal car setup for this very race in the event:
- Front Wing: Laminar
- Brakes: Aura Lock
- Suspension: Motion Link V2
- Rear Wing: Impact
- Gearbox: Shift X
- Engine: DriveOS
- Battery: Power Grid
With the top drivers that you should choose from:
Unlock all 12 sections Hide plans
And this is the pit stop strategy and tires you should use
The ideal car setup for this very race in the event:
- Front Wing: Flashpoint
- Brakes: Aegis
- Suspension: Curver 3-0
- Rear Wing: Downforce
- Gearbox: Lockdown
- Engine: Velocity
- Battery: Charge Core
With the top drivers that you should choose from:
Unlock all 12 sections Hide plans
And this is the pit stop strategy and tires you should use
The ideal car setup for this very race in the event:
- Front Wing: Laminar
- Brakes: Aura Lock
- Suspension: Motion Link V2
- Rear Wing: Impact
- Gearbox: Shift X
- Engine: DriveOS
- Battery: Power Grid
With the top drivers that you should choose from:
And this is the pit stop strategy and tires you should use
CHAMPION Class ⬡ (Series 1-12)
Qualifying Round Strategy
Melbourne ChampionShanghai ChampionMonaco ChampionJeddah ChampionOpening/Final Round Strategy
Melbourne ChampionMonza ChampionShanghai ChampionMontreal ChampionMonaco ChampionAustin ChampionJeddah ChampionMelbourne Champion

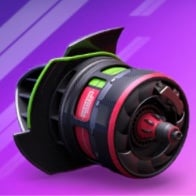
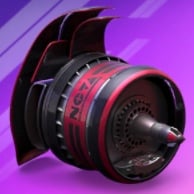
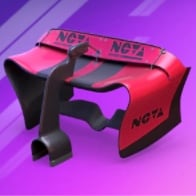
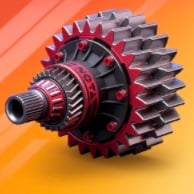
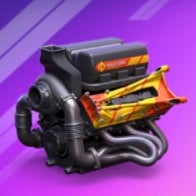
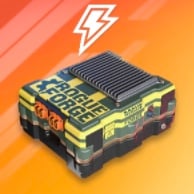
The ideal car setup for this very race in the event:
- Front Wing: Loose Fit
- Brakes: Stabilix
- Suspension: Motion Link V2
- Rear Wing: Impact
- Gearbox: Fracture
- Engine: Overdrive
- Battery: Spare Pack
With the top drivers that you should choose from:




And this is the pit stop strategy and tires you should use
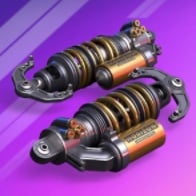
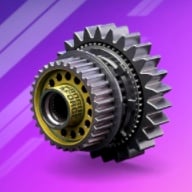
The ideal car setup for this very race in the event:
- Front Wing: Loose Fit
- Brakes: Pressure Point
- Suspension: Bounce
- Rear Wing: Downforce
- Gearbox: Lockdown
- Engine: Velocity
- Battery: Charge Core
With the top drivers that you should choose from:




And this is the pit stop strategy and tires you should use



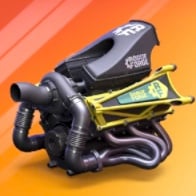
The ideal car setup for this very race in the event:
- Front Wing: Leading Edge
- Brakes: Aura Lock
- Suspension: Equilibrium
- Rear Wing: Dominus
- Gearbox: Powerbox
- Engine: Hotfix
- Battery: Energy Reserve
With the top drivers that you should choose from:
And this is the pit stop strategy and tires you should use


The ideal car setup for this very race in the event:
- Front Wing: Leading Edge
- Brakes: Aura Lock
- Suspension: Equilibrium
- Rear Wing: Dominus
- Gearbox: Powerbox
- Engine: Hotfix
- Battery: Energy Reserve
With the top drivers that you should choose from:
Unlock all 12 sections Hide plans
And this is the pit stop strategy and tires you should use
The ideal car setup for this very race in the event:
- Front Wing: Loose Fit
- Brakes: Stabilix
- Suspension: Motion Link V2
- Rear Wing: Impact
- Gearbox: Fracture
- Engine: Overdrive
- Battery: Spare Pack
With the top drivers that you should choose from:
And this is the pit stop strategy and tires you should use
The ideal car setup for this very race in the event:
- Front Wing: Loose Fit
- Brakes: Stabilix
- Suspension: Motion Link V2
- Rear Wing: Impact
- Gearbox: Fracture
- Engine: Overdrive
- Battery: Spare Pack
With the top drivers that you should choose from:
Unlock all 12 sections Hide plans
And this is the pit stop strategy and tires you should use
The ideal car setup for this very race in the event:
- Front Wing: Loose Fit
- Brakes: Pressure Point
- Suspension: Bounce
- Rear Wing: Downforce
- Gearbox: Lockdown
- Engine: Velocity
- Battery: Charge Core
With the top drivers that you should choose from:
Unlock all 12 sections Hide plans
And this is the pit stop strategy and tires you should use
The ideal car setup for this very race in the event:
- Front Wing: Loose Fit
- Brakes: Stabilix
- Suspension: Motion Link V2
- Rear Wing: Impact
- Gearbox: Fracture
- Engine: Overdrive
- Battery: Spare Pack
With the top drivers that you should choose from:
And this is the pit stop strategy and tires you should use
 Keep AllClash one tap awayAdd it to your home screen and it opens full screen, like an app.