


Welcome to the second Grand Prix of the 2025 Season in F1 Clash and we want to introduce our new guide format for events here that we worked on heavily due to the season break to give you all info and guide you need on one single page.
By the way, don’t forget that we have just finished updating our guides for the series in 2025 – check out Series 3 here, Series 4 here, Series 5 here, Series 6 here, Series 7 here, Series 8 here, Series 9 here, Series 10 here, Series 11 here and Series 12 here.
⚠️ IMPORTANT ⚠️
Please mind that this is the guide for the Junior Class – if you’re not taking part in the Junior Class, here are the guides for Challenger Class, Contender Class and Champion Class
Event Overview
The races are done all in the same conditions and setups, no matter what day. The races you have on the Qualifying Day are exactly the same you have in the Opening Round and in the Final Round, including the weather conditions. Use the links here to jump to the race
- 🇲🇨 Monaco – Click here (Quali)
- 🇬🇧 Silverstone – Click here
- 🇺🇸 Austin – Click here (Quali)
- 🇸🇬 Singapore – Click here
- 🇦🇪 Abu Dhabi – Click here (Quali)
- 🇲🇨 Monaco (Rain) – Click here
- 🇦🇺 Melbourne – Click here (Quali)
- 🇲🇨 Monaco – Click here
Remember, you can change your car/driver setup for each race and you should – this means you will get the ideal setup for each single one to make sure you land the best prices at the end of the final round of the event.
Important – just because some parts and drivers are boosted doesn’t mean they are really getting better, often they do that to parts/drivers that are so bad that the boost just makes them okay-ish and lure you a little into upgrading them. For that reason you might not see them in many recommended setups below but we absolutely did account their boosts in!
🇲🇨 Monaco Setup


The ideal car setup for this race in the event is:
- Brakes: The Stabiliser
- Gearbox: Beat
- Rear Wing: Gale Force
- Front Wing: Glide
- Suspension: Curver 2-5
- Engine: Mach I
And for the drivers:


And this is the pit stop strategy and tires you should use
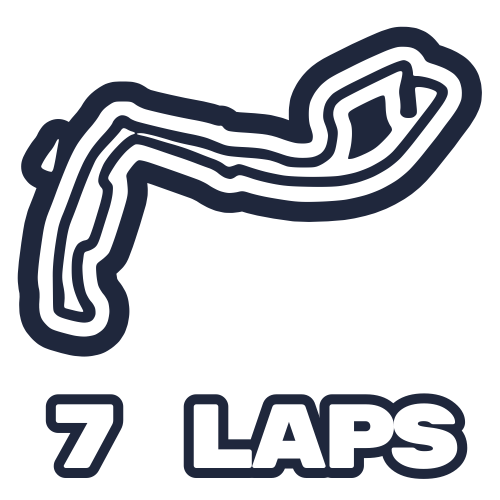





Monaco is hard to overtake and you want to make a gap between your drivers so let one push early on on soft tires while the other one is on mediums and overtakes the pit stop lane.
🇬🇧 Silverstone Setup


The ideal car setup for this race in the event is:
- Brakes: Supernova
- Gearbox: Slickshift
- Rear Wing: Gale Force
- Front Wing: Glide
- Suspension: Curver 2-5
- Engine: Spark-E
And for the drivers:


And this is the pit stop strategy and tires you should use


There is nothing you can do there since it’s raining and the wet tires will not last 4 laps with the possible drivers you have. 2-stop strategy it is (inverted so your drivers don’t stack pitting)
🇺🇸 Austin Setup
The ideal car setup for this race in the event is:
- Brakes: The Stabiliser
- Gearbox: Beat
- Rear Wing: Gale Force
- Front Wing: Glide
- Suspension: Curver 2-5
- Engine: Mach I
And for the drivers:
And this is the pit stop strategy and tires you should use


Using a 1-stop here for both drivers is risky and can result in both eggs in one basket getting you the doble victory or fail badly since Austin can be random sometimes. Rather have one driver push on softs on the 2-stop strategy and the other one with hard tires on the 1-stop strategy and one of them will get a top position for a good result all the time instead of risking it all. You can risk more on the final day, though
🇸🇬 Singapore Setup


The ideal car setup for this race in the event is:
- Brakes: Pivot
- Gearbox: Slickshift
- Rear Wing: Motion
- Front Wing: Glide
- Suspension: Equinox
- Engine: Spark-E
And for the drivers:


And this is the pit stop strategy and tires you should use


This tracks MELTS tires for whatever reason and since you can’t make the soft tires last even 2 laps really, a 2-stop strategy here with both drivers on medium tires is the way to go. If they stack pitting, they do. Still, this strategy is the fastest and best way to gain points here
🇦🇪 Abu Dhabi Setup
The ideal car setup for this race in the event is:
- Brakes: Pivot
- Gearbox: Slickshift
- Rear Wing: Motion
- Front Wing: Glide
- Suspension: Equinox
- Engine: Spark-E
And for the drivers:
And this is the pit stop strategy and tires you should use


Long race that is rought on the tires and impossible slow on hard tires so don#t do any 1-stop stuff here that will make you a lot slower and reverse soft and medium tires on your drivers as shown above and you will do well here as you can push the power unit and overtake well and have enough pace to do so instead of dead-slow cruising on hard tires
🇲🇨 Monaco (Rain) Setup
The ideal car setup for this race in the event is:
- Brakes: The Stabiliser
- Gearbox: Beat
- Rear Wing: Gale Force
- Front Wing: Glide
- Suspension: Curver 2-5
- Engine: Mach I
And for the drivers:
And this is the pit stop strategy and tires you should use
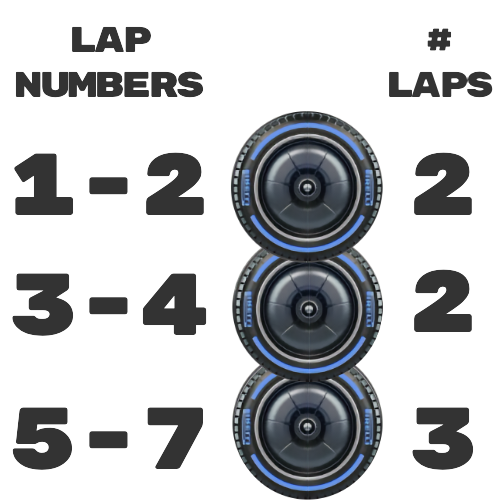
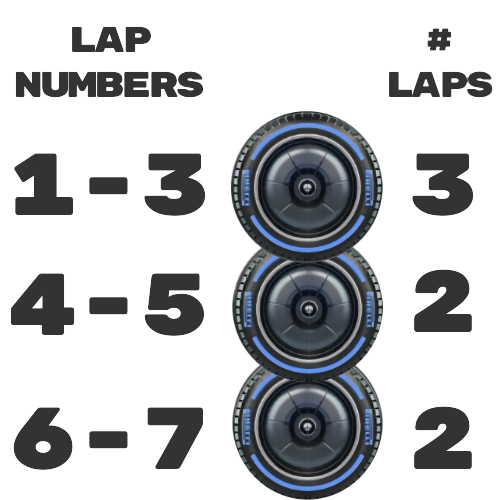
This race is in the rain but with the same strategy just with wet tires. No way you can make a 1-stop here so don’t try and rather push past pit lane to overtake
🇦🇺 Melbourne Setup
The ideal car setup for this race in the event is:
- Brakes: Supernova
- Gearbox: Slickshift
- Rear Wing: Gale Force
- Front Wing: Glide
- Suspension: Curver 2-5
- Engine: Spark-E
And for the drivers:
And this is the pit stop strategy and tires you should use
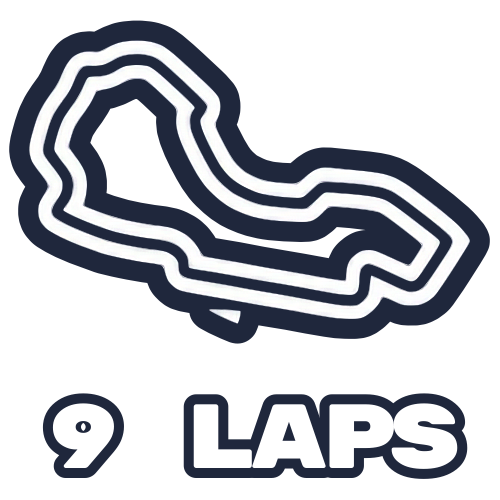


This track is working so well on this strategy and always gives big points. One driver on medium tires for 3 laps each and the other push early on softs and later does cruise 4 laps on the hard tires. One of my favorite tracks in this Gran Prix
🇲🇨 Monaco Setup
The ideal car setup for this race in the event is:
- Brakes: The Stabiliser
- Gearbox: Beat
- Rear Wing: Gale Force
- Front Wing: Glide
- Suspension: Curver 2-5
- Engine: Mach I
And for the drivers:
And this is the pit stop strategy and tires you should use
Exact same strategy as in the first race here.
 Keep AllClash one tap awayAdd it to your home screen and it opens full screen, like an app.